Okay, so you’ve spilled who-knows-how-many cups of coffee on your carpet, or maybe the basement’s a little swampy after that last storm, and you’re staring at a wet vacuum cleaner like it’s some alien contraption. Trust me, you’re not alone. Using a wet vacuum cleaner isn’t like your regular old vacuum where you just plug and go. There’s a little bit of “oh, wait, can I do this?” that sneaks in, especially if you’ve never dealt with sucking up liquids before. But stick with me, cause I’ll walk you through this in a way that makes sense without sounding like a boring instruction manual.
Why Wet Vacuum Cleaners Are Actually Life-Savers
People usually think wet vacs are only for professional cleaners or serious floods, but nah, they’re super handy for home stuff too. I remember my buddy’s kitchen after he tried to wash his dog indoors (don’t ask) — it was chaos. The wet vacuum cleaner was the only thing that made it remotely manageable. These machines can suck up water, mud, spilled soda, even those little messes your kids swear they didn’t make but totally did.
Some stats might shock you: according to a 2022 survey by CleanTech Appliances, homes with wet/dry vacuum cleaners report 40% faster cleanups for liquid spills than just mops or towels. That’s basically saving hours of scrubbing and stress. And honestly, you don’t wanna be the person mopping up gallons of water with a rag for three hours.
Choosing the Right Wet Vacuum Cleaner for You
Not all wet vacuums are built the same. Some are small, portable, and barely heavier than a loaf of bread, perfect for kitchens or cars. Others are these beastly industrial things you might see in warehouses. Here’s what you wanna consider before plugging it in:
- Capacity: If you’re just cleaning small spills, a 2–4 gallon tank is fine. But if your basement floods every winter, maybe go 10+ gallons.
- Power & Suction: More amps = stronger suction. But careful, some cheap models say “1500W” and it’s barely strong enough to pull up a soggy towel.
- Attachments: Crevice tools, brush heads, squeegees. You don’t wanna buy a vacuum and realize you can’t get under the fridge or sofa.
- Filtration: Some have HEPA filters even for wet stuff. Not necessary for every mess, but nice if you’re cleaning liquids that might carry mold or allergens.
A fun fact: the largest consumer wet vacs can hold up to 16 gallons of water. That’s like trying to suck a kiddie pool with a vacuum — which, honestly, sounds fun until your arm cramps.
Step-By-Step: Using a Wet Vacuum Cleaner Properly
Alright, now that you’ve got your wet vacuum cleaner and you’re staring at that puddle like it owes you money, let’s get into the nitty-gritty.
Step 1: Prep the Area
First, remove any large debris. Rocks, pebbles, broken glass — anything that might clog the hose or scratch your vacuum. Trust me, nothing ruins a day faster than realizing your $200 machine is jammed after five seconds.
Step 2: Check the Tank
Before plugging it in, make sure your tank is empty and properly installed. Some wet vacs have separate tanks for dry and wet debris. Mixing them up is basically asking for trouble. Also, check if your model needs a filter or foam sleeve for wet operation. Some people skip this step, and then their motor gets waterlogged.
Step 3: Attach the Right Nozzle
Most wet vacuum cleaners come with multiple attachments. For floors, a wide squeegee head works best. For corners or stairs, the narrow crevice tool is your friend. Pro tip: hold the hose at a slight angle; it makes sucking liquids way easier.
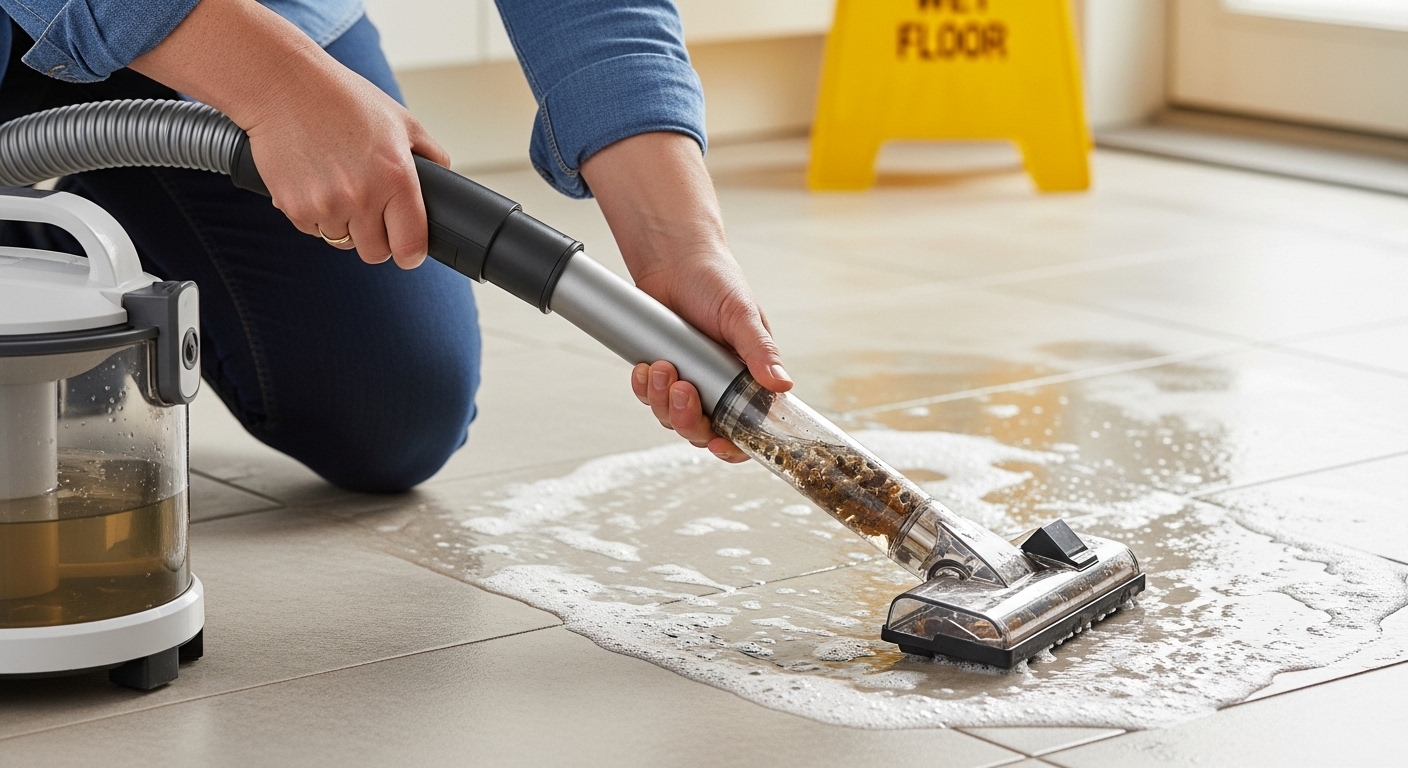
Step 4: Power On & Vacuum
Turn it on and start at the edge of the spill, not the center. Weird, but it keeps the water from spreading like a tiny tidal wave. Move slowly, overlapping your strokes. For stubborn puddles, sometimes you gotta go over it twice. Don’t be shy — patience here beats speed.
Step 5: Empty the Tank
Most people ignore this until it’s too late. Don’t let your wet vacuum cleaner get full. It’s better to empty it halfway if the spill is massive. Some tanks have marks showing maximum capacity — those aren’t just decoration.
Step 6: Clean Your Vacuum
After every session, rinse the tank and attachments. Let them dry completely before storing. I can’t stress this enough — leaving it wet is a mold magnet. A little vinegar or mild soap goes a long way.
Tips & Tricks You Might Not Know
- Double suction for carpets: Wet vacs sometimes struggle with thick carpets. Pre-soak lightly, then vacuum slowly for better results.
- Use it like a mop substitute: For quick kitchen spills, wet vac + mild detergent = basically skipping a full mop session.
- Outdoor fun: Kids spilled juice on the patio? Wet vacs work on cement, tile, and even some outdoor rugs.
- Maintenance matters: Changing the foam sleeve or filter every few months keeps suction strong and prevents motor burnout.
Common Mistakes People Make
You’d think this is straightforward, but nah. People do dumb stuff like:
- Trying to vacuum hot liquids (burn hazard, also can warp plastic).
- Using a dry filter for wet messes. This kills the vacuum.
- Ignoring safety: never pull it by the cord or over wet floors without a GFCI outlet.
Remember, a wet vacuum cleaner is not magic. Treat it right and it’ll last years. Abuse it and, well, you’re buying a new one sooner than you thought.
Real-Life Examples
I’ve seen it save kitchens after broken water heaters, garages after sump pump failures, and even cars after a soda explosion. One friend of mine, total disaster magnet, used a wet vacuum cleaner to clean his flooded tent during a camping trip — no joke, it worked like a charm. And according to Consumer Reports, homeowners report up to 30% less cleaning time per week when using wet/dry vacs compared to just mopping and towels. That’s huge if you hate chores like I do.
Safety & Precautions
- Always unplug before touching the tank or attachments.
- Never use outdoors in heavy rain without checking the manual.
- Keep cords away from water. Sounds obvious, but yeah… accidents happen.
- Wear gloves if vacuuming anything gross, like pet accidents or dirty flood water.
Final Thoughts
Honestly, a wet vacuum cleaner is kinda like having a Swiss army knife for messes — it’s weirdly satisfying to use once you get the hang of it. It’s not just about spills either; think maintenance, minor floods, even cleaning cars. Once you learn the little quirks — tank levels, nozzle choices, slow sweeping motion — it becomes second nature. And the best part? No more standing in puddles with a mop while muttering curse words under your breath.
So next time you spill coffee, wash your dog indoors, or the basement decides to become a lake, you’ll be ready. Grab that wet vacuum cleaner, follow these steps, and maybe even smile a little while doing it — it’s cleaner, faster, and honestly kinda fun once you get used to it.
Would you like me to create a table of wet vacuum cleaner attachments and their best uses to make this even more practical for readers?